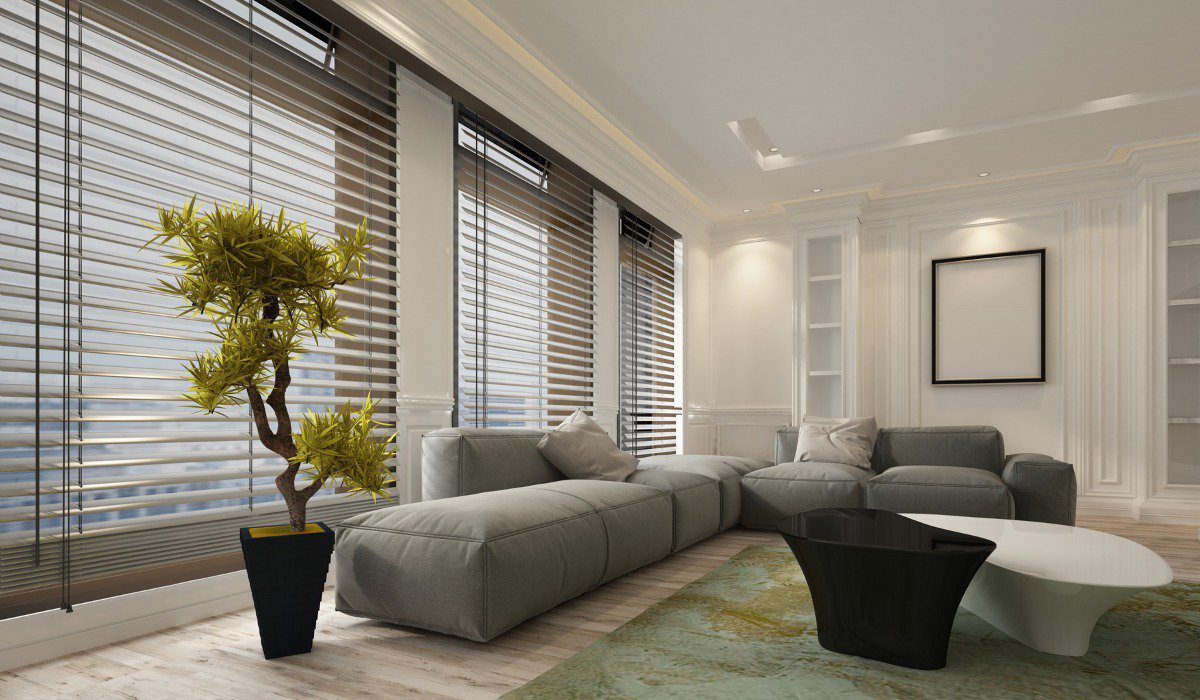
Transforming your living space doesn’t always require a massive renovation. Sometimes, the most minor changes can have the most significant impact. One such change is updating your window treatments, and what better way to do it than with DIY blinds? This weekend project breathes new life into your home and gives you the satisfaction of creating something with your hands.
Why Choose DIY Blinds?
DIY blinds are more than just a cost-effective alternative to store-bought options. They offer a unique blend of creativity and customisation, allowing you to tailor the design to match your style. DIY blinds can be your perfect solution to add a touch of elegance, create a cozy atmosphere, or block out the sunlight. Plus, they are a fun and fulfilling project you can complete over the weekend, making it a great way to spend your free time.
Benefits of DIY Blinds
When you opt for DIY blinds, you unlock a host of benefits that go beyond mere aesthetics:
- Customisation: Unlike pre-made blinds, you have complete control over the materials, colours, and patterns. This means you can create something that perfectly complements your existing decor.
- Cost Savings: Store-bought blinds can be expensive, especially if you need custom sizes. Making your own can save you significant money without compromising on quality.
- Satisfaction: There’s something gratifying about seeing a project through from start to finish. When you hang those DIY blinds, you’ll feel a sense of accomplishment that store-bought items can’t provide.
Getting Started with Your DIY Blinds
Before diving into crafting your DIY blinds, gathering the necessary materials and tools is essential. The type of blinds you choose to make will dictate the supplies you’ll need, but here’s a general list to get you started:
- Fabric of your choice
- Measuring tape
- Scissors
- Sewing machine or fabric glue
- Wooden dowels or metal rods
- Cord or string
- Mounting hardware (brackets, screws)
Step-by-Step Guide
Now that you have everything you need, let’s walk through the process of creating your DIY blinds.
Measure Your Windows
The first and most crucial step is measuring your windows accurately. Take measurements of the width and height of each window where you plan to hang the blinds. Remember to add a few extra inches to the width for a fuller look and to ensure complete coverage.
Choose Your Fabric
The fabric you choose will set the tone for your blinds. If you’re aiming for a light and airy feel, opt for sheer fabrics that allow light to filter through. Heavier fabrics like cotton or linen work well for more privacy and light control. If you have a specific colour scheme or pattern in mind, this is your chance to get creative.
Cut and Sew the Fabric
Once you’ve selected your fabric, cut it to the size of your window measurements, adding an extra inch on all sides for hemming. If you’re handy with a sewing machine, sew a neat hem along the edges. Alternatively, you can use fabric glue for a no-sew option. This step is where your DIY blinds start to take shape, so take your time to ensure everything is even and well-finished.
Add the Dowels or Rods
To give your blinds structure, you’ll need to insert wooden dowels or metal rods into the fabric. These should be placed at regular intervals along the length of the blinds. Sew or glue pockets along the backside of the fabric to hold the dowels or rods in place. This step is essential for ensuring that your blinds hang straight and can be easily rolled up and down.
Attach the Cord or String
Now, it’s time to add the mechanism that will allow you to raise and lower your blinds. Attach a cord or string to the bottom of the blinds, threading it through the dowels or rods and up to the top. You’ll need to create a pulley system that allows the cord to be pulled to raise the blinds and released to lower them. Secure the cord with knots or clips to keep it in place.
Install the Mounting Hardware
Finally, install the mounting hardware above your window. This typically involves screwing in brackets that will hold the blinds securely in place. Once the brackets are installed, hang your DIY blinds and give them a test run to ensure they operate smoothly.
Tips for Success
Making your DIY blinds can be a fun and rewarding experience, but a few tips can help ensure your project goes off without a hitch:
- Double-Check Measurements: There’s nothing worse than spending hours on a project only to find that the finished product doesn’t fit your window. Measure twice, cut once!
- Use Quality Materials: While cutting costs by using cheaper materials is tempting, investing in high-quality fabric and hardware will ensure your diy blinds stand the test of time.
- Practice Patience: Things might go differently than the first time, like any DIY project. Take your time, and don’t be afraid to adjust as needed.
Final Thoughts
DIY blinds are a fantastic way to add a personal touch to your home decor while also improving the functionality of your windows. Whether you’re a seasoned DIY enthusiast or a beginner, this weekend project is a great way to enhance your living space. The ability to customise every aspect of your blinds ensures that they will perfectly suit your style and needs.
So why not spend your weekend transforming your windows with diy blinds? Not only will you elevate the look of your home, but you’ll also gain the satisfaction of creating something beautiful and functional with your hands.
Stay in touch to get more updates & news on Mystories List!
