Let’s face it, winter can be brutal on your house. Salt stains, grime, and who-knows-what-else leave your once vibrant siding looking dull and lifeless. But fear not, weary homeowner! Spring is here, and with it comes the power to transform your house from drab to fab. Enter the mighty power washer: your secret weapon against winter’s wrath.
But hold on a second! Before you unleash a torrent of cleaning power on your unsuspecting siding, let’s make sure you do it right. Power washing done incorrectly can damage your siding, so a little knowledge goes a long way. This guide will equip you with everything you need to know to power wash your siding like a pro, leaving it sparkling clean and protected.
Beyond the Sparkle: The Power of Clean Siding
Sure, a clean house looks fantastic, boosting your curb appeal and making you the envy of the neighborhood (we see you admiring your sparkling siding from the driveway!). But the benefits of power washing go far beyond aesthetics.
Healthier Home, Happier You:
Pressure washing blasts away mold, mildew, and allergens that can lurk on your siding. This creates a healthier environment, especially for those in your family with allergies or respiratory problems.
Goodbye Pests, Hello Fresh Air:
A clean exterior discourages unwanted visitors like insects and rodents. No more creepy crawlies setting up shop in your siding! Plus, a fresh, clean house just feels more inviting, both for you and your loved ones.
Increased Value (Maybe):
While a clean house can certainly make a good first impression on potential buyers, it’s not a guaranteed way to boost your home’s value. However, a neglected exterior with visible mold or grime can detract from its value. So, think of power washing as an investment in the overall health and beauty of your home.
Preparing for Power Washing Success: Gear Up and Plan Ahead
Safety first! Power washers are powerful tools, so proper gear is essential. Don’t be that person who ends up with a pressure washer attachment lodged somewhere it shouldn’t be! Here’s what you’ll need:
- Safety Glasses: A must-have! Eye protection is crucial to shield yourself from any flying debris or cleaning solution splatter.
- Gloves: Protect your hands from the cleaning solution and the pressure of the water spray.
- Closed-Toe Shoes: This might seem obvious, but it’s important to wear sturdy shoes that won’t slip on wet surfaces.
- Long Pants and Long-sleeved Shirt: Dress for the mess! You might get a little wet during the cleaning process.
Choosing Your Power Washing Weapon: Different Types for Different Needs
Not all power washers are created equal. Here’s a quick rundown of the most common types to help you choose the right one for your project:
Electric Power Washers:
Perfect for smaller jobs like cleaning your siding or patio furniture, electric models are quieter, eco-friendly, and user-friendly. They’re a good option for beginners or those with smaller homes.
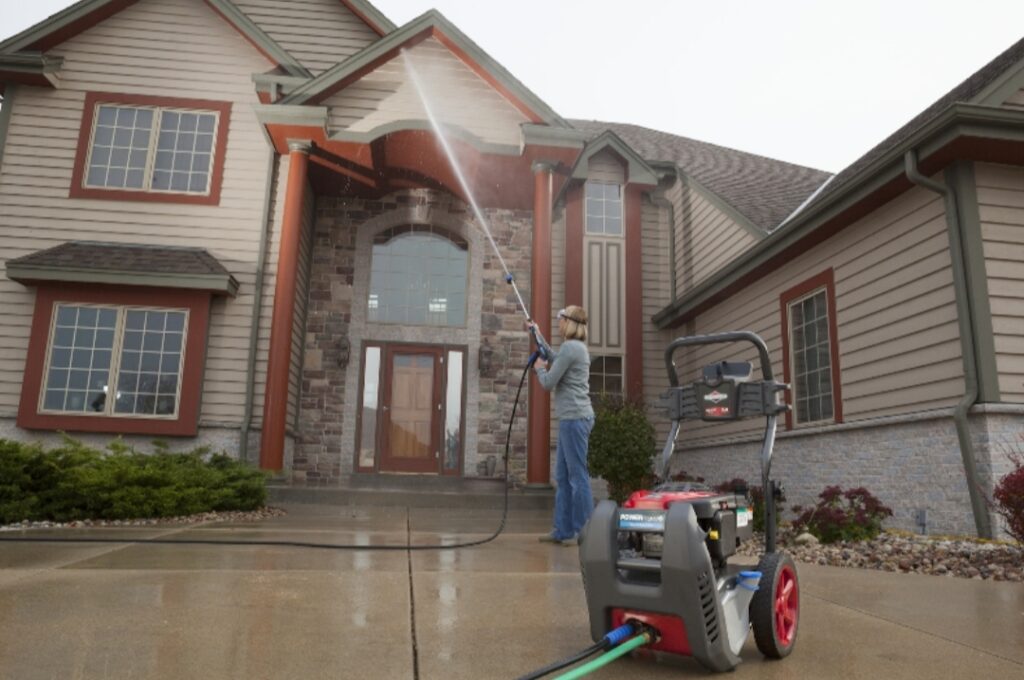
Gas-Powered Power Washers:
Need to tackle tough grime on larger surfaces like driveways or heavily soiled siding? Gas-powered models offer more cleaning power for heavy-duty jobs. However, they can be louder and require more maintenance.
Wall-Mounted Power Washers:
Short on storage space? A wall mounted pressure washer saves space and is ideal for smaller cleaning projects. This setup ensures that your washer is always easily accessible and ready to use, making it perfect for quick clean-ups and regular maintenance tasks.
Pro Tip: Check your owner’s manual to determine the appropriate power washer size and cleaning solution for your specific needs.
Gearing Up for Success: Essential Power Washer Accessories
Having the right accessories can significantly improve your power washing experience! Here are some common and versatile attachments to consider:
- Surface Cleaner Attachments: Ideal for cleaning large, flat surfaces like concrete driveways or patios, surface cleaner attachments offer a wider spray pattern for faster cleaning. Think of it as a magic eraser for your concrete!
- Fan Nozzles: These nozzles provide a wider spray pattern compared to standard nozzles, making them ideal for cleaning delicate surfaces like brick without causing damage.
- Degreaser Attachments: A degreaser attachment can be a lifesaver for tackling stubborn oil stains. However, it’s important to use degreasers according to the manufacturer’s instructions and with caution.
- Bleach Solution (Use with Extreme Caution): While bleach solutions can be effective for mold remediation on specific siding types (consult a professional before attempting!), it’s crucial to understand and handle the risks involved with extreme caution. Always follow safety protocols and wear appropriate protective gear.
Adding various accessories for power washers can make your cleaning tasks more efficient and versatile, ensuring you have the right tool for every job.
Conquering Different Siding Types: A Targeted Approach

Now that you’re prepped and ready, let’s delve into the nitty-gritty of cleaning different siding types. Remember, using the wrong pressure or technique can damage your siding, so following these guidelines is crucial:
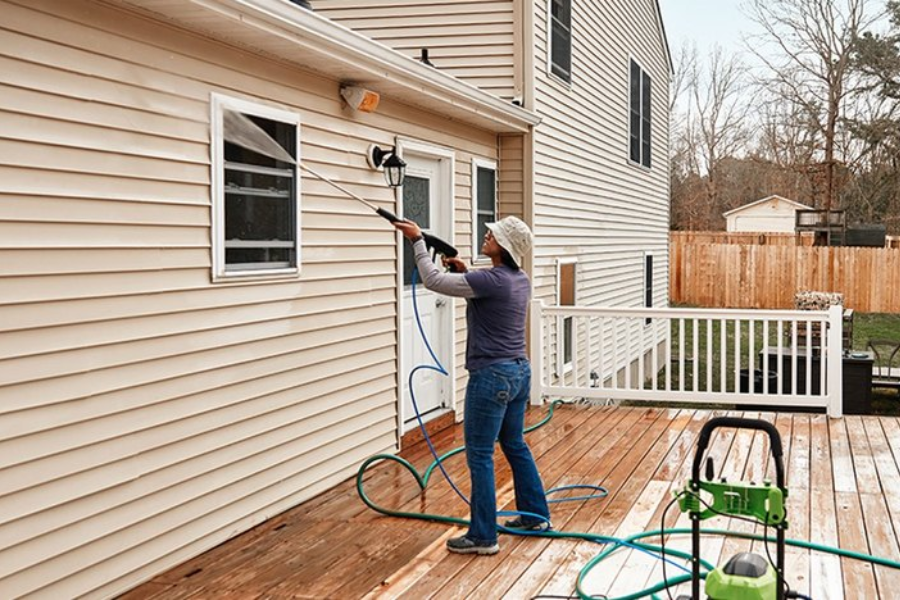
Vinyl Siding Savvy: Power Washing Made Easy!
- Pressure Setting: Vinyl siding is generally pretty forgiving, but you don’t need a superhero cleaning! Use a lower pressure setting, around 1,500 PSI (pounds per square inch) to be safe.
- Cleaning Technique: For stubborn dirt, consider using a fan nozzle attachment for a wider spray pattern. Start with a low pressure and gradually increase it if needed.
- Pro Tip: Think of pre-soaking your vinyl siding with a cleaning solution specifically designed for power washing. This loosens dirt and makes the cleaning process even easier.
Taming Tough Concrete: Power Washing Like a Pro
- Pressure Setting: Concrete can handle a higher pressure setting than vinyl siding. Aim for around 2,500 PSI for effective cleaning.
- Cleaning Technique: Here’s where your surface cleaner attachment comes in handy! The wider spray pattern allows you to cover larger areas of concrete quickly and efficiently.
- Pro Tip: Move the surface cleaner attachment in a slow, sweeping motion, ensuring even cleaning. Be mindful of nearby plants and landscaping, as the high pressure can damage them.
Brick Beauty Revealed: Gentle Power Washing Techniques
- Pressure Setting: Brick is a delicate material, so go easy on the pressure! Use a setting around 1,000 PSI to avoid damaging the mortar between the bricks.
- Cleaning Technique: A fan nozzle attachment is your best friend here. The wider spray pattern helps ensure even cleaning and prevents concentrated pressure that could damage the brick.
- Pro Tip: Treat your brick siding like a precious masterpiece. Always test a small, inconspicuous area first to ensure the cleaning solution and pressure won’t cause discoloration.
Wood Whisperer: Power Washing with a Delicate Touch
- Pressure Setting: Wood requires the gentlest touch. Use a very low-pressure setting, around 800 PSI, to avoid stripping away the wood fibers.
- Cleaning Technique: Move the spray wand in a sweeping motion, keeping the distance between the nozzle and the wood surface at least three feet.
- Pro Tip: After power washing, wood surfaces need some TLC. Apply a high-quality stain or sealant to protect the wood from the elements and maintain its beauty.
The Power Washing Process: From Grime to Shine
Now that you’ve chosen your weapon and identified your siding type, let’s get down to the actual power-washing process! Here’s a step-by-step guide to ensure a sparkling clean finish:
- Pre-Soak the Tough Stuff: Think of pre-soaking as a softening-up strategy for stubborn grime. Apply a cleaning solution specifically designed for power washing to your siding and let it sit for a few minutes according to the manufacturer’s instructions. This loosens dirt and makes power washing a breeze.
- The Power of Soap: Lather Up for a Clean Sweep: Don’t underestimate the power of soap! It’s your secret weapon for sparkling clean siding. Mix a gentle cleaning solution with water in the pressure washer’s designated tank.
- The Two-Step Shuffle: Cleaning and Rinsing: Think of power washing like a two-step dance! Clean a section at a time, starting from the bottom and working your way up. This ensures proper rinsing and prevents clean water from mixing with dirty runoff. After cleaning a section, thoroughly rinse the entire area with clean water to remove any cleaning solution residue.
- Work Smarter, Not Harder: Start Low and Go Slow: Patience is key! Always start with a lower pressure setting and gradually increase it if needed. Remember, using too much pressure can damage your siding. It’s better to take your time and achieve a clean finish without causing any harm.
Beyond the Basics: Advanced Power Washing Techniques

For experienced users, there are advanced techniques that can tackle specific cleaning challenges. However, these techniques require caution and a thorough understanding of the risks involved:
Degreaser Attachments:
For stubborn oil stains, a degreaser attachment can be a lifesaver. However, degreasers can be harsh, so always use them according to the manufacturer’s instructions and with extreme caution. Wear proper protective gear like gloves and a respirator when using degreasers.
Bleach Solution (Use with Extreme Caution!):
While bleach solutions can be effective for mold remediation on specific siding types (consult a professional before attempting!), it’s crucial to understand the risks involved. Bleach can damage siding, and discolor surfaces, and is hazardous if not handled properly. Here’s what you absolutely must do before considering bleach:
Identify Your Siding Type:
Bleach is not suitable for all siding materials. It can be particularly damaging to vinyl and wood siding. Always check the manufacturer’s recommendations for your specific siding type before using bleach.
Test in an Inconspicuous Area:
Even on recommended surfaces, bleach can cause discoloration. Apply a diluted bleach solution to a small, hidden area of your siding and wait 24 hours. If there’s no discoloration, you might proceed with caution (but remember, there are safer options!).
Extreme Caution and Protection:
If you absolutely must use bleach, wear proper protective gear, including gloves, goggles, a respirator, and long sleeves and pants. Never mix bleach with other cleaning solutions, as this can create harmful fumes.
Ventilation is Key:
Ensure good ventilation while using bleach. Open all windows and doors in the area you’re cleaning.
Remember: When in doubt, consult a professional cleaning service for mold remediation, especially for extensive mold growth or if you’re unsure about your siding type.
Maintaining Your Sparkling Siding: Keeping the Shine Alive
The hard work is done, and your siding is sparkling clean! But don’t stop there. Here are some tips to maintain that fresh look:
- Regular Inspection: Inspect your siding every few months for any missed spots or areas that might require a touch-up cleaning.
- Power Washing Frequency: Depending on your environment and the amount of dirt and grime exposure, you might need to power wash your siding every 1-3 years.
- Wood TLC: For wood siding, reapply a high-quality stain or sealant every few years to protect the wood from the elements and maintain its beauty.
Conclusion:
Power washing your siding can be a rewarding experience, transforming your house from dull to dazzling. With the knowledge and tips provided here, you can tackle this spring cleaning project with confidence. So grab your pressure washer, gear up safely, and unleash the power (washer) within! We’d love to see your before-and-after transformation photos in the comments section below. And if you have any questions, don’t hesitate to ask!
Bonus Tip: For an extra touch of curb appeal, consider power washing your walkways, patio furniture, or even your mailbox! Just remember to adjust the pressure setting and cleaning technique based on the material.
Remember: Safety first! Always follow the manufacturer’s instructions for your specific power washer and cleaning solutions. Happy power washing!
Keep an eye for more news & updates on MyStoriesList.Com!